


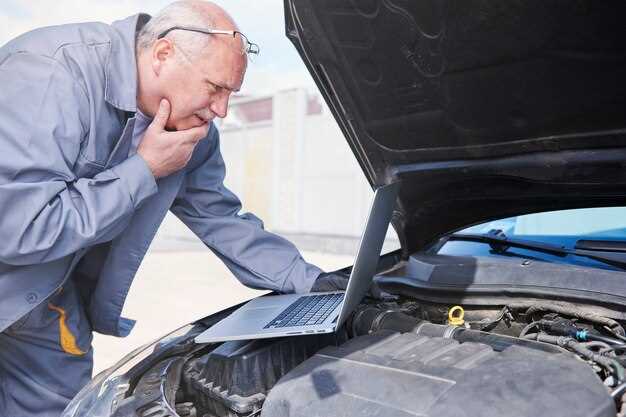
Coolant leaks in vehicles can lead to severe engine problems if not addressed promptly. Regularly monitoring the coolant system is essential to maintaining the health of your engine. Detecting a leak early can prevent costly repairs and ensure optimal performance. In this article, we will explore various methods to test for coolant leaks and provide effective repair solutions.
Understanding the symptoms of a coolant leak is crucial. Common indicators include overheating engines, a sweet odor from the engine bay, or a pool of coolant under the vehicle. Identifying the source of the leak involves a systematic approach, utilizing tools and techniques that help diagnose the issue accurately. By implementing these methods, you can protect your vehicle from damage caused by insufficient coolant levels.
This guide will not only assist you in troubleshooting and identifying potential coolant leaks but will also provide step-by-step instructions for repairing them. Whether you are a seasoned mechanic or an enthusiastic car owner, knowing how to effectively deal with coolant issues is fundamental in ensuring your vehicle’s longevity and performance.
Utilizing Leak Finder Products for Accurate Detection
In the quest for effective coolant leak detection, utilizing specialized leak finder products can significantly enhance accuracy. These products are designed to identify and highlight problematic areas in cooling systems, making the testing process more efficient.
Leak finders typically come in various forms, including dyes, electronic detectors, and aerosol sprays. One of the most common methods involves adding a fluorescent dye to the coolant. As the engine runs, the dye circulates through the system; any leaks will result in visible fluorescence under UV light, allowing mechanics to pinpoint the exact location of the leak quickly.
Electronic leak detectors offer a different approach. They employ sensors to detect the presence of coolant vapors in the air surrounding the vehicle. By using this technology, technicians can conduct tests in hard-to-reach areas where conventional methods may fail. This product is particularly beneficial when leaks are intermittent or too small to be detected by visual methods.
Aerosol leak finders are also effective for quick tests. They can be sprayed on suspected areas, and if a leak is present, the product will react with the coolant, producing bubbles or a noticeable reaction. This immediate visual feedback allows for timely diagnosis and repair decisions.
Incorporating leak finder products into the regular maintenance routine not only enhances the ability to detect coolant leaks but also aids in preventing potential engine damage. Accurate detection ensures that vehicles remain in optimal working condition, reducing downtime and repair costs for vehicle owners.
Step-by-Step Guide to Conducting a Coolant Test
Testing for coolant leaks is essential for maintaining vehicle performance and preventing overheating. Follow this step-by-step guide to conduct an effective coolant test.
Step 1: Gather Necessary Tools
Before beginning the test, ensure you have all the required tools: a coolant leak finder, a pressure tester, protective gloves, safety goggles, and a clean rag or absorbent cloth.
Step 2: Inspect the Coolant Reservoir
Start by visually inspecting the coolant reservoir for any signs of leaks or cracks. Look for fluid below the minimum level indicator, which may indicate a leak.
Step 3: Allow Engine to Cool
Make sure your vehicle’s engine is completely cool before proceeding. Opening the coolant system while hot can cause burns or injuries.
Step 4: Pressurize the Coolant System
Using the pressure tester, connect it to the coolant reservoir. Pump the tester to build pressure within the system according to the manufacturer’s specifications. This will help identify any weak points or leaks.
Step 5: Monitor for Leaks
Observe the coolant system closely. Watch for any visible leaks around hoses, fittings, and the radiator. If fluid escapes, you have identified the source of the leak.
Step 6: Use Coolant Leak Finder
If no external leaks are visible, use a coolant leak finder. This tool detects leaks by detecting fluid escaping from cracks or holes not visible to the naked eye. Follow the instructions provided with the finder for accurate results.
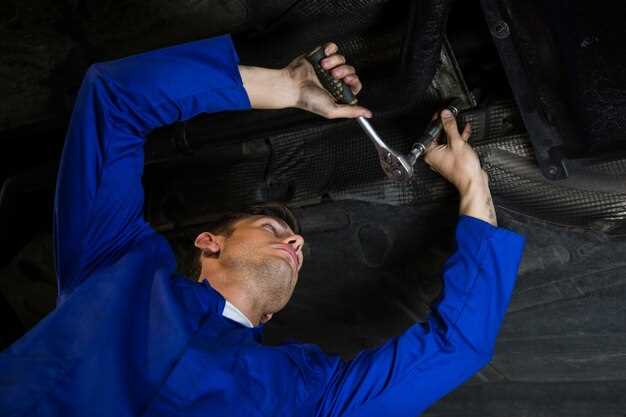
Step 7: Check Hoses and Connections
Inspect all hoses and connections thoroughly. Look for signs of wear or cracks that could indicate potential leaks. Squeeze hoses gently; if they feel soft or spongy, they may need replacement.
Step 8: Test the Radiator
Examine the radiator for any signs of corrosion or damage. Radiator leaks can often be pinpointed with a pressure test, so ensure it holds the pressure during testing.
Step 9: Check Engine Block and Gaskets
If external leaks are not found, conduct a thorough inspection of the engine block and intake manifold gaskets. A faulty gasket can lead to coolant leaks within the engine.
Step 10: Document Findings
Record any issues found during the coolant test. Note the locations of leaks and any components that require repair or replacement. This will assist in efficient repairs and maintenance.
By following these steps, you can effectively detect and address coolant leaks in your vehicle, ensuring optimal performance and longevity.
Repair Options: Temporary Fixes vs. Permanent Solutions
When dealing with coolant leaks, it is crucial to understand the distinction between temporary fixes and permanent solutions. Temporary fixes can provide immediate relief but often do not address the root cause of the problem, while permanent solutions aim to comprehensively resolve the issue.
Temporary fixes typically involve quick methods that can stop or slow down the leak until a more permanent solution is implemented. Common options include using sealants or leak-stopping additives that can be poured directly into the coolant system. These products work by sealing small cracks or gaps in hoses and components, providing a short-term solution. However, it’s essential to test the effectiveness of these methods periodically, as they may not hold up under high pressure or temperature conditions.
On the other hand, permanent solutions focus on repairing or replacing damaged parts. This approach often requires locating the source of the leak accurately with specialized leak-finder tools or methods. For instance, a dye test can be conducted to identify leaks not visible to the naked eye. Once the leak is located, the damaged component, whether it’s a hose, radiator, or water pump, can be replaced or repaired using appropriate techniques. This ensures that the vehicle’s cooling system functions effectively over the long term and reduces the risk of overheating or further damage.
In conclusion, while temporary fixes can be advantageous in urgent situations, relying solely on them can lead to ongoing problems. Permanent solutions provide a more reliable approach to ensuring vehicle integrity and performance, particularly in the cooling system. It is always advisable to assess the situation thoroughly and consider the best long-term repair option to maintain vehicle functionality.


