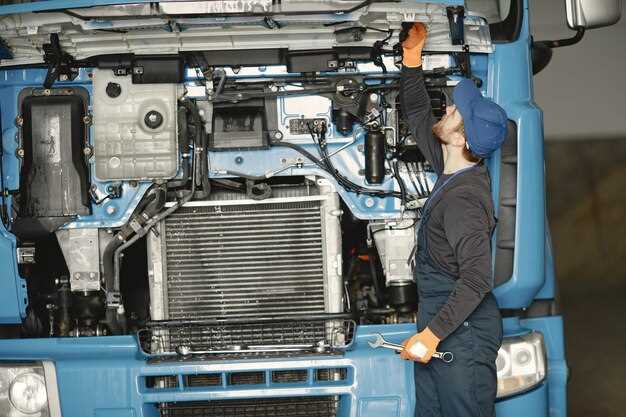
Maintaining the integrity of your truck’s cooling system is critical for optimal engine performance. One of the essential procedures in this maintenance regimen is flushing the cooling system. Over time, coolant can become contaminated with debris, rust, and mineral deposits, leading to potential overheating and engine damage. A thorough flush is vital for removing these harmful particles and ensuring that your engine operates at the right temperature.
The flushing procedure typically involves draining the old coolant, cleaning the cooling system, and refilling it with fresh coolant. This not only improves the system’s efficiency but also extends the lifespan of various components such as hoses, radiators, and water pumps. Understanding the proper steps for this procedure will significantly reduce the risk of mistakes, making it a safer task that anyone can perform with the right knowledge.
In this guide, we will cover the necessary tools, safety precautions, and step-by-step instructions for flushing a truck cooling system. By following these guidelines carefully, you can ensure a clean and well-functioning system while minimizing the risk of accidents associated with handling coolant and engine components.
Understanding the Importance of Flushing Your Truck’s Cooling System

Flushing your truck’s cooling system is a critical maintenance procedure that promotes the longevity and efficiency of your vehicle. Over time, coolant can become contaminated with debris, rust, and scale, which reduces its ability to absorb heat effectively. By performing a flush, you remove these harmful substances, allowing for optimal heat transfer and preventing overheating.
A clean cooling system also enhances the performance of other components, such as the water pump and radiator. When these parts operate seamlessly, the overall reliability of your truck improves, reducing the risk of unexpected breakdowns during critical operations. Moreover, regular flushing helps maintain the right concentration of antifreeze, which protects the engine from corrosion and freezing in extreme temperatures.
Ignoring the need for a flush can lead to costly repairs, as prolonged contamination may cause blockages and damage to the engine. Establishing a routine flushing schedule aligns with the manufacturer’s recommendations and ensures that your truck remains in peak condition. Consequently, this procedure not only safeguards your investment but also enhances your safety on the road, making it an essential aspect of vehicle upkeep.
Step-by-Step Procedure for a Safe Coolant Flush
Begin by gathering the necessary tools and materials for the coolant flush, including a coolant flush kit, safety goggles, gloves, and a large container for old coolant. Ensure that you have the correct type of coolant for your truck.
Next, park the truck on a level surface and engage the parking brake. Allow the engine to cool completely before proceeding to prevent burns or scalds.
Remove the radiator cap carefully to release any built-up pressure. Use a funnel to pour the flush solution into the radiator. Follow the instructions on the flush product to determine the appropriate amount to use.
Start the engine and let it run until it reaches operating temperature, usually around 15-20 minutes. This allows the flush solution to circulate through the cooling system effectively.
After the engine has warmed up, turn it off and let it sit for a few minutes. This ensures that the flush solution can work to loosen any deposits or contaminants.
Locate the drain valve or lower hose on the radiator and place the container underneath to catch the old coolant. Open the valve or detach the hose carefully, allowing the contaminated fluid to drain completely.
Once drained, close the drain valve or reattach the lower hose. Rinse the system by flushing with clean water through the radiator until the water runs clear. This step helps to remove any remaining debris or old coolant.
After the rinsing is complete, refill the radiator with the appropriate mixture of fresh coolant and water, ensuring to follow the manufacturer’s specifications. Replace the radiator cap securely.
Finally, check for any leaks around the system, start the engine, and let it run for a few minutes while monitoring the temperature gauge. This confirms that the flush procedure has been completed successfully and that the cooling system is functioning properly.
Choosing the Right Coolant and Tools for the Job

Selecting the appropriate coolant is crucial for the effectiveness of your truck’s cooling system. Coolants come in various formulations, including ethylene glycol and propylene glycol, each offering distinct properties. Ensure the coolant you choose is specifically designed for heavy-duty applications, as it enhances engine efficiency and protects against corrosion.
When preparing to flush the cooling system, having the right tools on hand will make the procedure smoother. Essential tools include a radiator flush kit, a drainage pan for collecting old coolant, and a funnel for easy pouring. Additionally, a pressure tester can help check for leaks after you’ve completed the flush.
Don’t forget to use protective equipment such as gloves and goggles when handling coolant. It is a hazardous material that can pose health risks if not managed properly. Always dispose of used coolant according to local regulations to protect the environment.
By carefully selecting the right coolant and assembling the necessary tools, you set the stage for a successful cooling system flush that maximizes the performance and longevity of your truck. This preparation is key to ensuring a safe and efficient procedure.


